CMMS Navigation Made Simple with Color-Coded Navigation Icons
MaintSmart uses an intuitive color-coded navigation menu bar. The icons on the menu bar follow the user to every screen. The obvious benefit of this is that you may always navigate to any screen from the current screen. Additionally, there is no limit to how many screens may be open at the same time. The video below explains this in detail. The Program Configuration icon is always unavailable (grayed-out) for all but Administrator users.
The CMMS navigation icons are color-coded on their background as follows:
- White background – basic day-to-day use and data entry. Examples: create a work order (gray wrench icon), close PMs (oilcan icon), use spares (gray bolt icon).
- Yellow background – configuration of data. Examples: set up tasks, and PMs (gray oilcan), configure equipment (stacked gears), set-up inventory spares (gray bolt).
- Green background – reporting and analysis of PMs (gray oilcan), reporting and analysis of work orders (gray wrench, reporting and analysis of machine downtime (gray hammer).

Video: Learn How to Use Role-based Permissions and Software Navigation
FREE VIDEO: How User Roles and Permissions Benefit the Maintenance Manager
CMMS User Roles Provide a Way for All Personnel to Access the Software
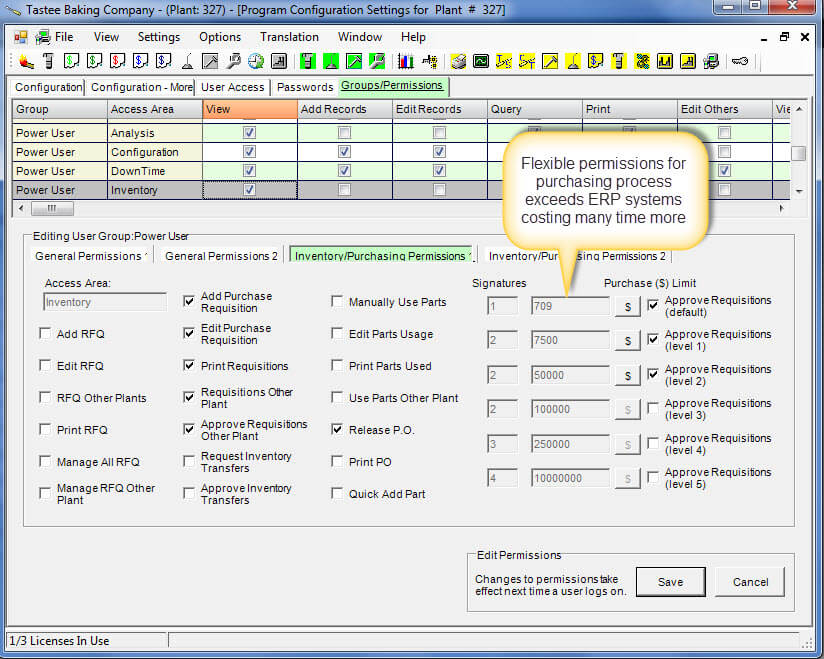
MaintSmart CMMS Software has the advantage of providing user roles. User roles are groups of permissions that are assigned to various CMMS users. The term “user group” is synonymous with “user role” This enables all members of your organization access to the software at some level. Her are some examples of how you might implement user roles:
- The maintenance manager is usually assigned to the Administrator role. This role is unlimited. Typically at least two members of your team should belong to this role (user group).
- The system administrator (usually IT services) should also be a member of the Administrator group.
- Maintenance mechanics are often set to the Basic CMMS role. This allows for entering work orders, closing PMs and much more. The Basic role generally blocks its users from configuration such as setting up personnel and equipment.
- Generally, it makes sense to assign maintenance leads and supervisors to the Power User role. This role provides more access to configuration and CMMS data reporting than the Basic role. In contrast, the Power User role is more limited than the Administrator role.
- Non-maintenance personnel are referred to as requesters in the MaintSmart program. Requesters are a user group that is generally used by personnel that want to formally submit a work request (repair ticket) into the software. The Requester user group (role) also displays only the logged in requester’s requests (optional default). Additionally, the requester can receive email updates as their repair ticket works it way through the work order process.
Use the Default Preset Roles or Optionally Create Your Own Roles and Permissions (no limits)

Please keep in mind that the above CMMS roles are simply examples of how you could set up your personnel and their access capabilities. Each of these roles has over 100 specific permissions that you can adjust as needed for your maintenance operation. Best of all, there are no limits on how many custom roles that you can add. This powerful feature ensures that all personnel in your organization will have the ability to use the CMMS.
Roles are also used in conjunction with other permissions. For example, set maintenance mechanics permissions so that these mechanics only see their own work assignments. Other settings can be used to prevent back-dating PM closures. CMMS navigation and roles are related and integrated providing an intuitive look and feel. This saves valuable time and frustration in the usually fast-paced equipment maintenance environment.
The next post in this MaintSmart CMMS Evaluation series covers simple work order entry.
Previous CMMS Evaluation Lessons:
